Section Getting Started with CODAP
Subsection Accessing CODAP
CODAP is a free, web-based application that runs in your browser. There’s no need to download or install anything.
- Access CODAP at codap.concord.org
27
codap.concord.org - No account is required to use CODAP, though creating an account allows you to save your work to the cloud
- Documents can be saved locally to your computer as .codap files even without an account
- CODAP works in all modern browsers (Chrome, Firefox, Safari, Edge)
Subsection Interface Overview
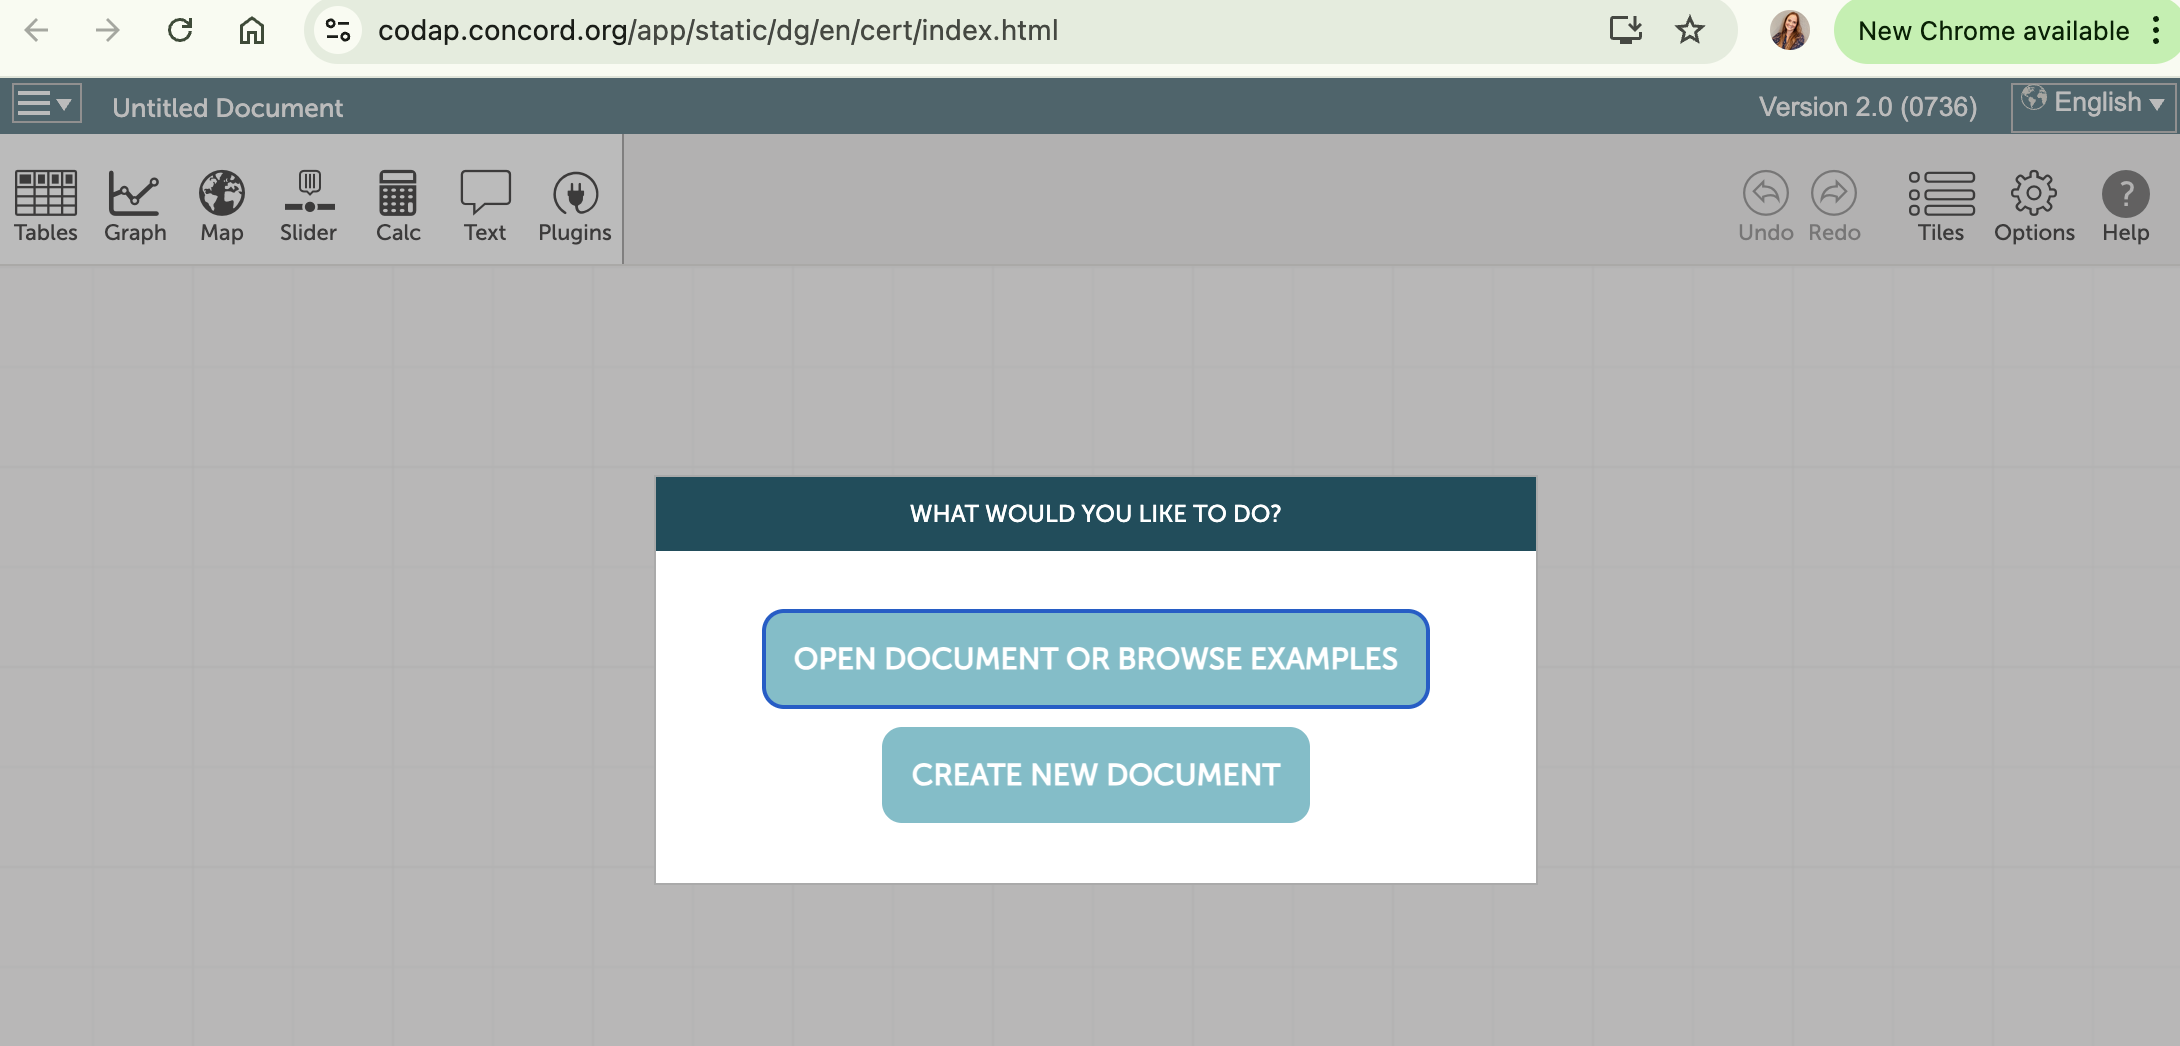
When you first open CODAP, you’ll see a blank document with a menu bar at the top. The main workspace is where you’ll create and arrange data views.
The primary components of the CODAP interface include:
- Main Menu
- Located at the top, providing access to file operations, examples, help, and tools.
- Document Toolbar
- Contains buttons for adding tables, graphs, text objects, maps, and other components.
- Workspace
- The main area where tables, graphs, and other components are displayed and arranged.
- Component Windows
- Individual windows for tables, graphs, etc., which can be moved, resized, minimized, or closed.
Key features of the CODAP interface:
- All components (tables, graphs, etc.) can be freely arranged in the workspace
- Components can be resized by dragging their edges
- Multiple components can be open simultaneously and interact with each other
- Selected elements in one component are automatically highlighted in others
Subsection Importing Data
There are several ways to get data into CODAP:
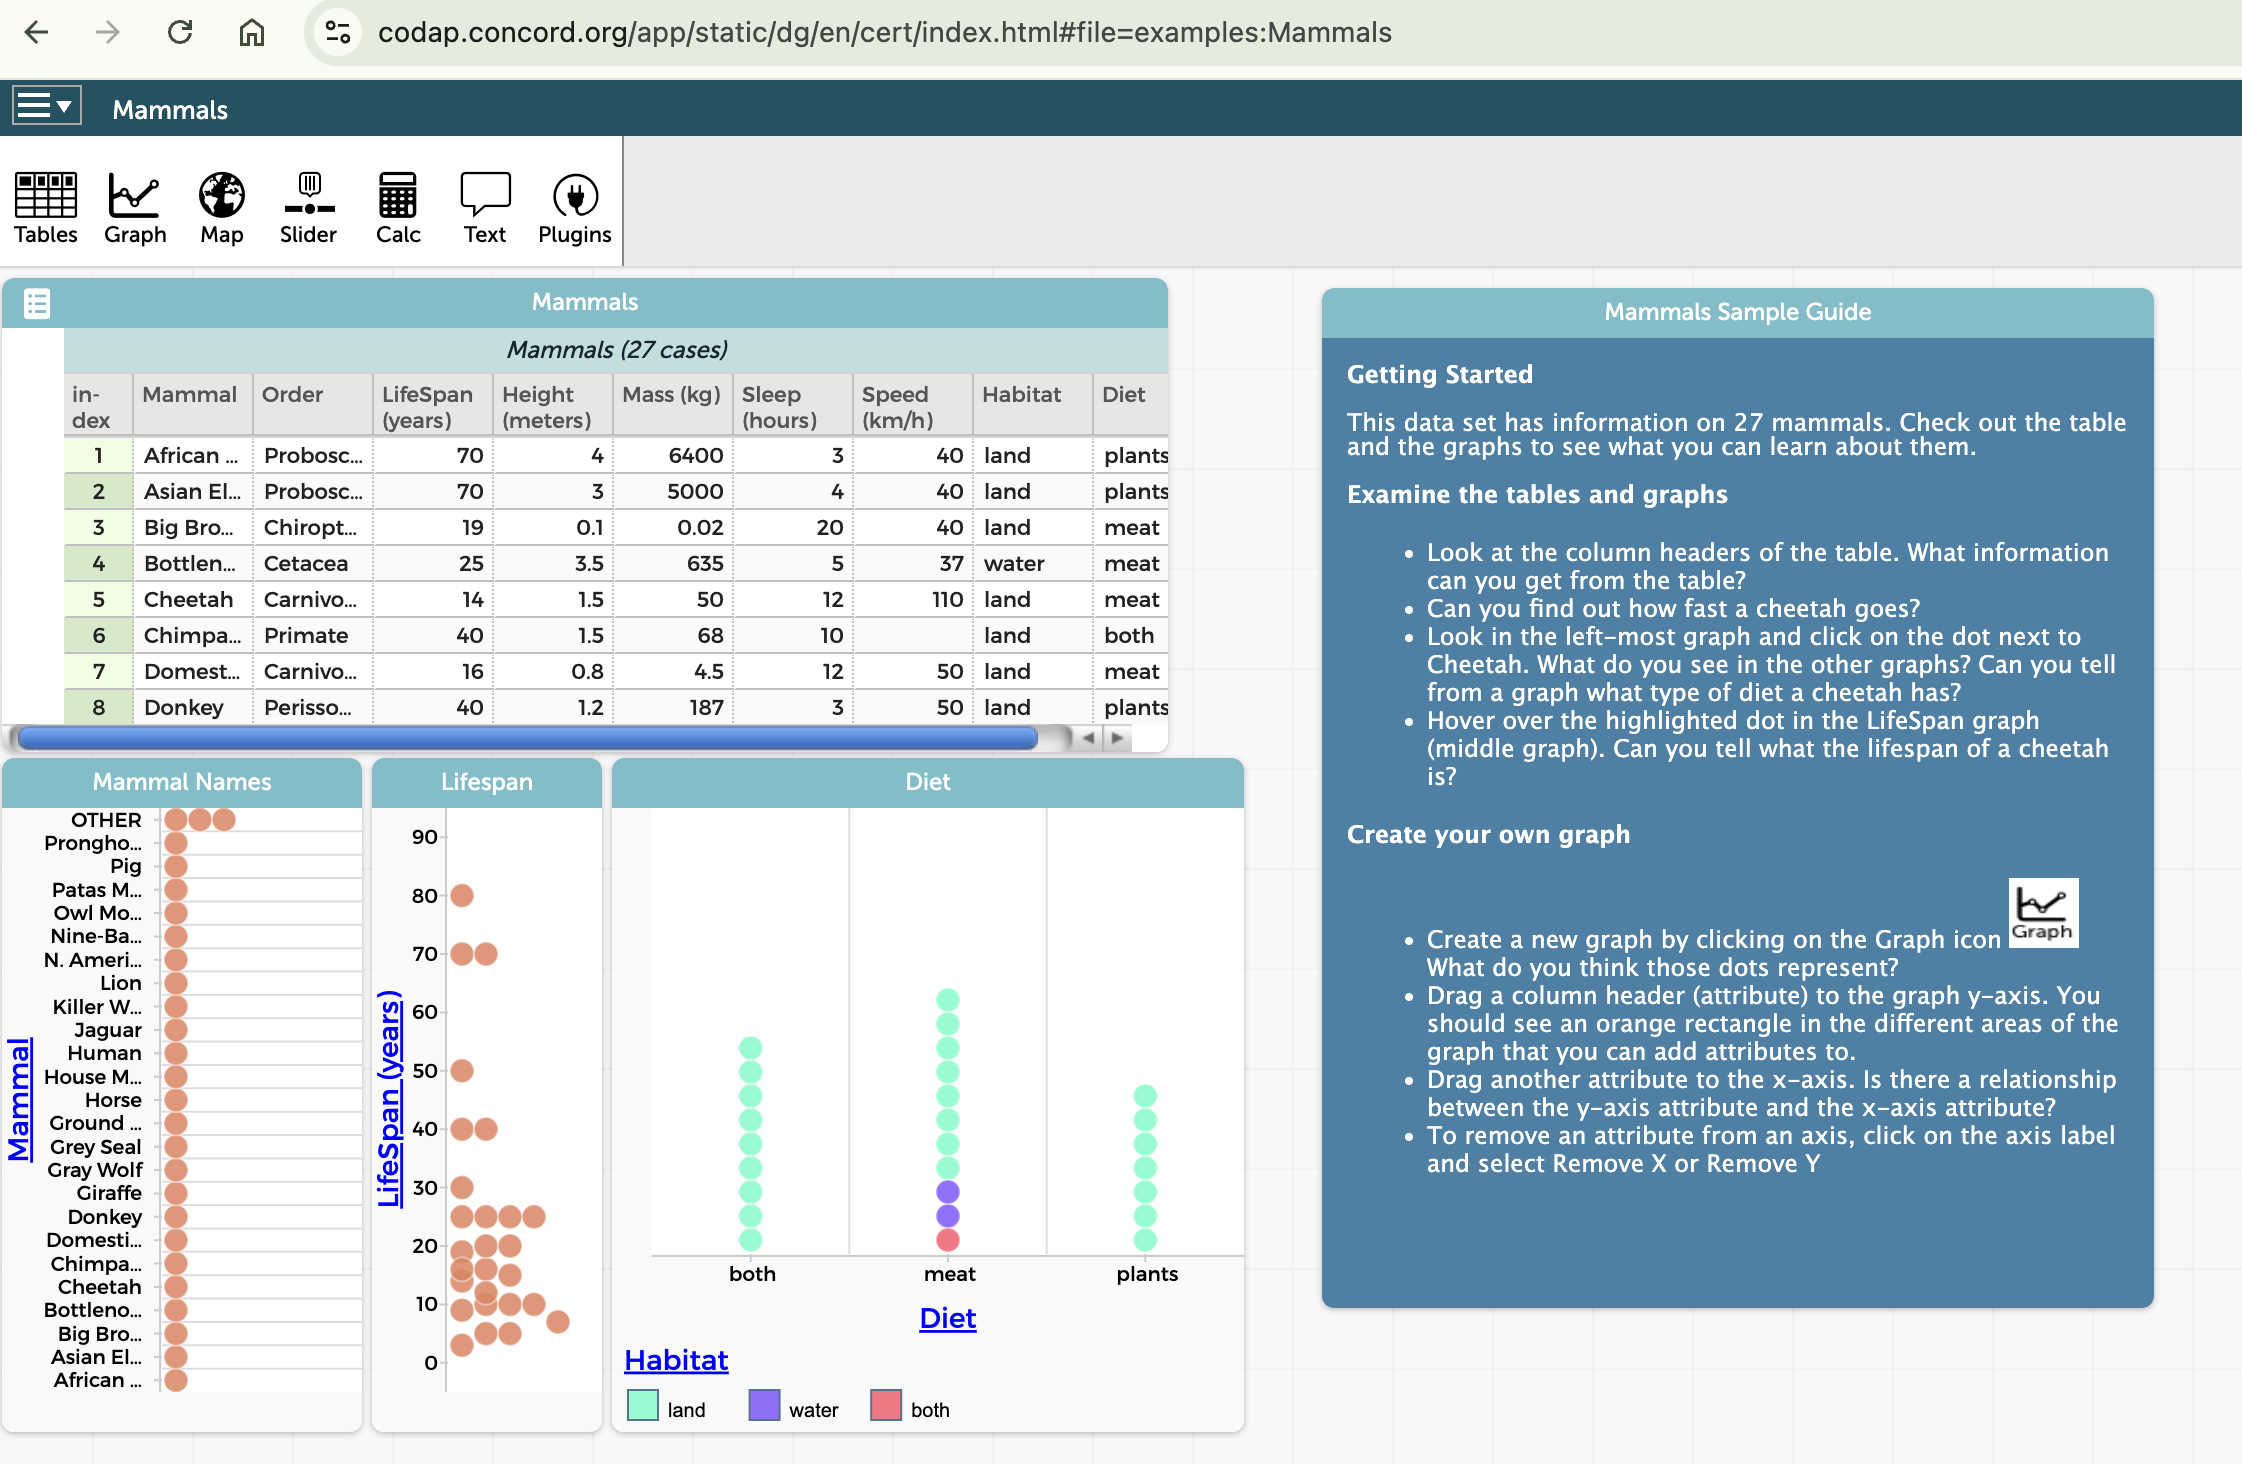
- Opening Example Documents
- From the main menu, select "Example Documents" to explore pre-made CODAP files with data.
- Importing from CSV or other file formats
- From the main menu, select "Import..." to bring data from a local file.
- Copy and Paste
- Copy data from a spreadsheet and paste it directly into a CODAP table.
- Manual Entry
- Create a new table and enter data manually.
- Using Plugins
- Some plugins allow importing data from specific sources like Google Sheets.
To create a new table:
- Click the "Table" button in the toolbar
- Name your table when prompted
- Click "+" to add attributes (columns)
- Enter data or use the import options described above
